本文实例讲述了android开发之popupwindow创建弹窗、对话框的方法。分享给大家供大家参考,具体如下:
简介:
popupwindow 可创建类似对话框风格的窗口
效果:
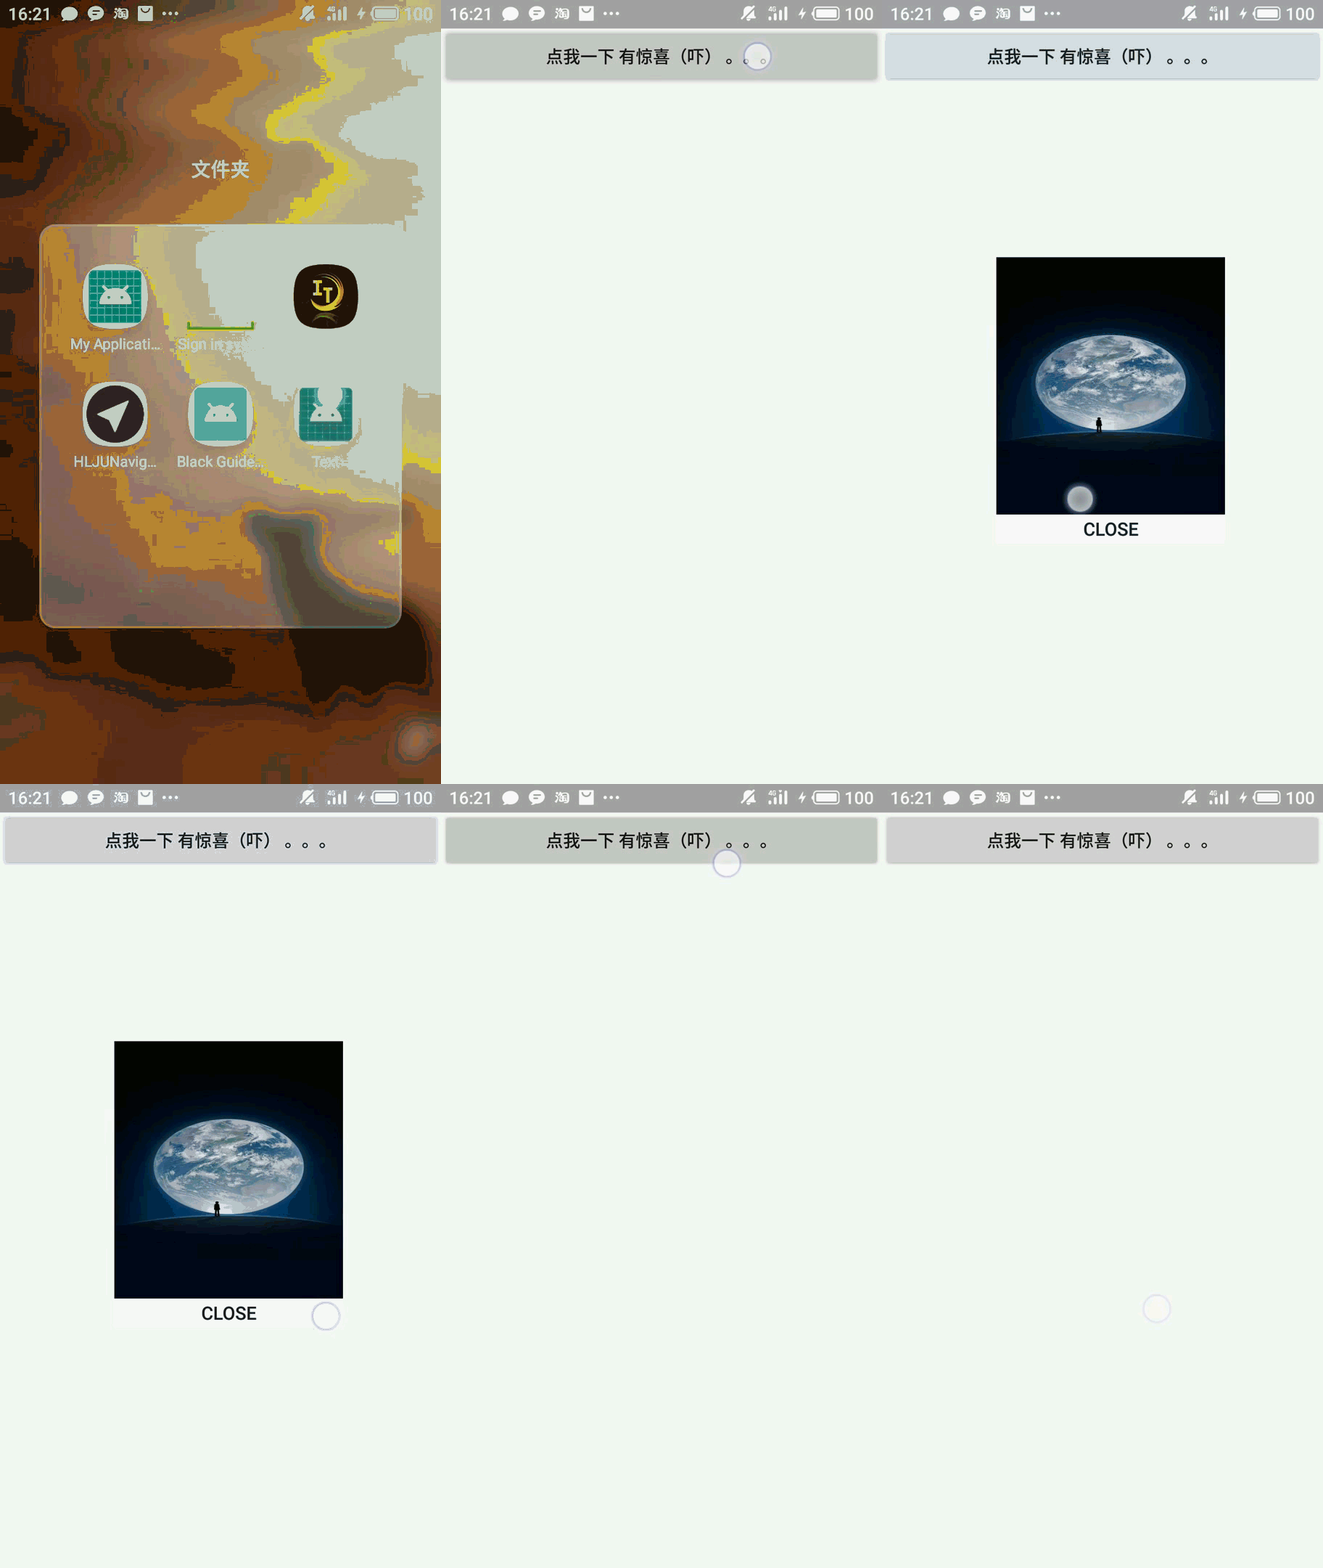
使用方法:
使用popupwindow 创建对话框风格的串口秩序如下两步即可:
1. popupwindow 的构造器创建popupwindow对象
2. popupwindow 的showasdropdown() 将其显示效果设置为下拉显示
3. popupwindow 的showatloacation() 方法将popupwindow() 在指定位置显示出来
下拉显示效果:

具体实现方法:
|
1
2
3
4
5
6
7
8
9
10
11
12
13
14
15
16
17
18
19
20
21
22
23
24
|
public class mainactivity extends activity { private popupwindow popupwindow; private view root; @override protected void oncreate(bundle savedinstancestate) { super.oncreate(savedinstancestate); setcontentview(r.layout.activity_main); root = this.getlayoutinflater().inflate(r.layout.cell,null);//add cell.xml above you mainactivity window popupwindow = new popupwindow(root,560,700);//create a popupwindow object root.findviewbyid(r.id.button01).setonclicklistener(new view.onclicklistener() { @override public void onclick(view v) { //close the popupwindow popupwindow.dismiss(); } }); } public void send(view source){ //set the location of popupwindow popupwindow.showatlocation(findviewbyid(r.id.send),gravity.center,20,20);//you can remove this effect //use dropdown way to display popupwindow.showasdropdown(root); }} |
mainactivity的布局文件:
|
1
2
3
4
5
6
7
8
9
10
11
12
13
|
<?xml version="1.0" encoding="utf-8" ?><linearlayout xmlns:android="http://schemas.android.com/apk/res/android" android:id="@+id/idtatabhost" android:layout_width="match_parent" android:layout_height="match_parent" android:layout_weight="1"> <button android:id="@+id/send" android:onclick="send" android:text="点我一下 有惊喜(吓) 。。。" android:layout_width="match_parent" android:layout_height="wrap_content" /></linearlayout> |
/layout/cell.xml
|
1
2
3
4
5
6
7
8
9
10
11
12
13
14
15
16
17
18
19
20
21
22
|
<?xml version="1.0" encoding="utf-8"?><linearlayout android:id="@+id/cell" xmlns:android="http://schemas.android.com/apk/res/android" android:layout_width="wrap_content" android:layout_height="wrap_content" android:orientation="vertical"> <imageview android:layout_width="match_parent" android:layout_height="0dp" android:layout_weight="9" android:src="@drawable/wechat" android:scaletype="fitxy"/> <button android:id="@+id/button01" android:layout_width="match_parent" android:layout_height="0dp" android:layout_weight="1" android:background="#ffffffff" android:text="close" android:textsize="15dp"/></linearlayout> |
希望本文所述对大家android程序设计有所帮助。
原文链接:https://blog.csdn.net/qq_43377749/article/details/85038117

