本文实例为大家分享了iOS自定义滑杆的具体代码,供大家参考,具体内容如下
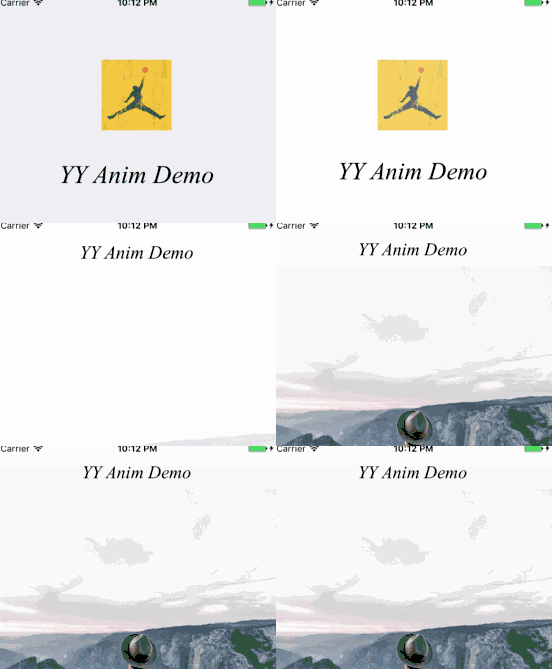
先让我们看看效果:
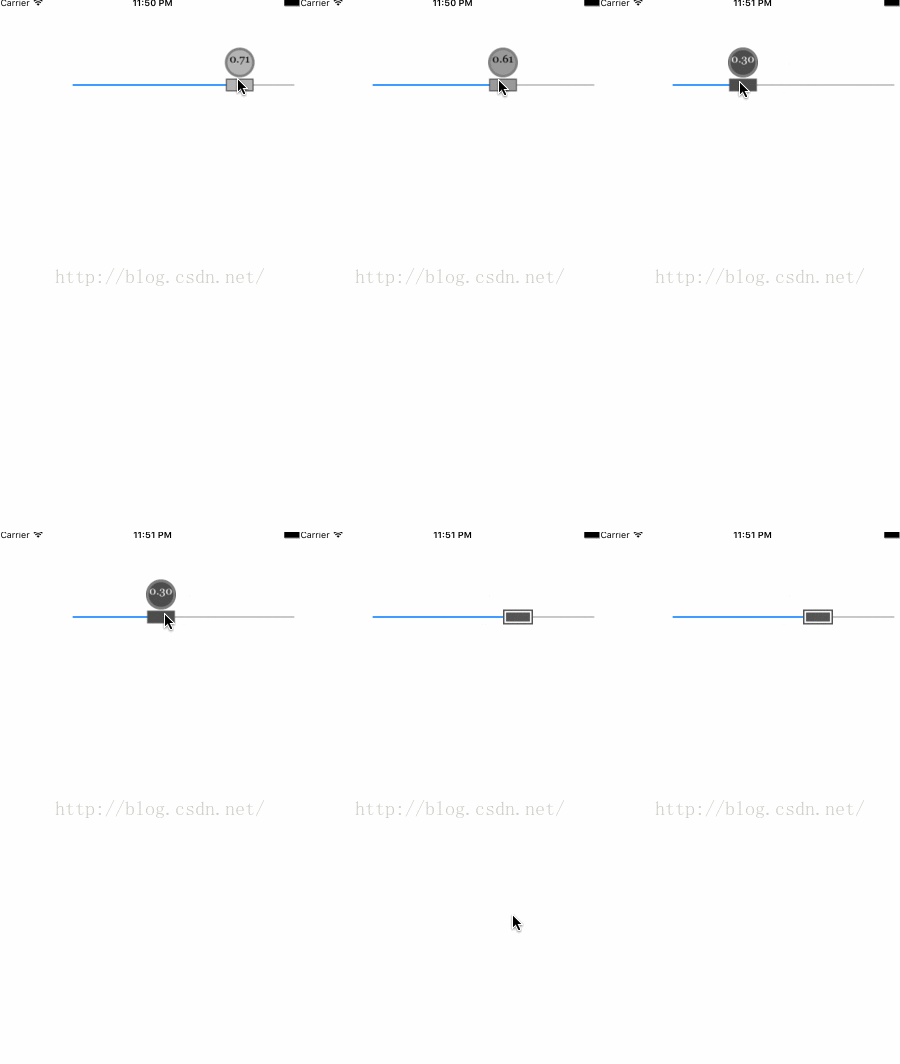
主要实现的代码:
|
1
2
3
4
5
6
7
8
9
10
11
12
13
14
15
16
17
18
19
20
21
22
23
24
25
26
27
28
29
30
31
32
33
34
35
36
37
38
39
40
|
UIImage *thumbWithLevel(float aLevel){ float INSET_AMT = 1.5f; CGRect baseRect = CGRectMake(0, 0, 40, 100); CGRect thumbRect = CGRectMake(0, 40, 40, 20); UIGraphicsBeginImageContext(baseRect.size); CGContextRef context = UIGraphicsGetCurrentContext(); [[UIColor darkGrayColor] setFill]; CGContextAddRect(context, CGRectInset(thumbRect, INSET_AMT, INSET_AMT)); CGContextFillPath(context); [[UIColor whiteColor] setStroke]; CGContextSetLineWidth(context, 2); CGContextAddRect(context, CGRectInset(thumbRect, 2 * INSET_AMT, 2 * INSET_AMT)); CGRect ellipseRect = CGRectMake(0, 0, 40, 40); [[UIColor colorWithWhite:aLevel alpha:1] setFill]; CGContextAddEllipseInRect(context, ellipseRect); CGContextFillPath(context); NSString *numString = [NSString stringWithFormat:@"%0.2f",aLevel]; UIColor *textColor = (aLevel > 0.5) ? [UIColor blackColor] : [UIColor whiteColor]; UIFont *font = [UIFont fontWithName:@"Georgia" size:15]; NSMutableParagraphStyle *style = [[NSMutableParagraphStyle alloc] init]; style.lineBreakMode = NSLineBreakByCharWrapping; style.alignment = NSTextAlignmentCenter; NSDictionary *attr = @{NSFontAttributeName:font,NSParagraphStyleAttributeName:style,NSForegroundColorAttributeName:textColor}; [numString drawInRect:CGRectInset(ellipseRect, 0, 6) withAttributes:attr]; [[UIColor grayColor] setStroke]; CGContextSetLineWidth(context, 3); CGContextAddEllipseInRect(context, CGRectInset(ellipseRect, 2, 2)); CGContextStrokePath(context); UIImage *theImage = UIGraphicsGetImageFromCurrentImageContext(); UIGraphicsEndImageContext(); return theImage;} |
在这里我们通过context的方法将图片画出了,对于性能有点要求,但是现在应该不在乎这点性能了
|
1
2
3
4
5
6
7
8
9
10
|
- (void)updateThumb{ if ((self.value < 0.98) && (ABS(self.value - previousValue) < 0.1f)) { return; } UIImage *customImg = thumbWithLevel(self.value); [self setThumbImage:customImg forState:UIControlStateHighlighted]; previousValue = self.value;} |
通过滑块的值来使上面的值进行变化,更加的直观
|
1
2
3
4
|
[self setThumbImage:simpleThumb() forState:UIControlStateNormal]; [self addTarget:self action:@selector(startDrag:) forControlEvents:UIControlEventTouchDown]; [self addTarget:self action:@selector(updateThumb) forControlEvents:UIControlEventValueChanged]; [self addTarget:self action:@selector(endDrag:) forControlEvents:UIControlEventTouchUpOutside | UIControlEventTouchUpInside]; |
对于不同的状态来进行不同的操作,让滑杆的用户体验度更加的完整
以上就是本文的全部内容,希望对大家的学习有所帮助,也希望大家多多支持服务器之家。
原文链接:https://blog.csdn.net/ChasingDreamsCoder/article/details/53074677

