一、绘制喇叭
本篇将教你用pyglet画一个小喇叭,如下图。这里要用到pyglet库shapes模块中的圆弧Arc和多边形Pylygon画出这个扬声器的图片:
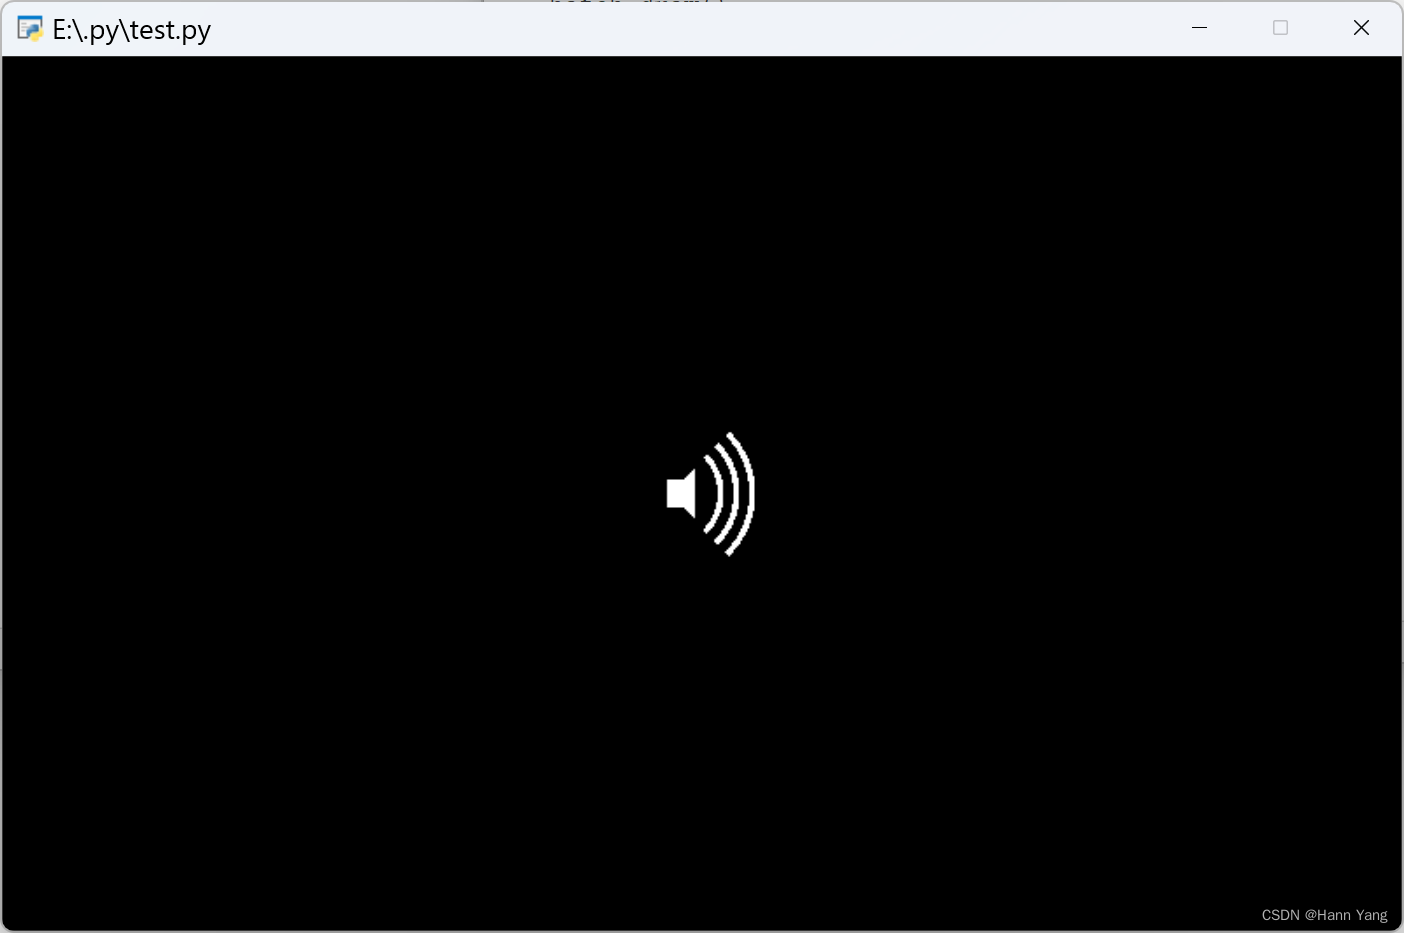
Arc(x, y, radius, segments=None, angle=6.283185307179586, start_angle=0, closed=False, color=(255, 255, 255, 255), batch=None, group=None)
x,y 是圆弧的圆心坐标;
radius 是半径;
angle是圆心角的弧度数;
start_angle是圆弧起始的弧度数,以水平线起始时,值为0;
圆弧控件没有表示粗细的参数,只能多画几个同心圆弧来加粗。
Polygon(*coordinates, color=(255, 255, 255, 255), batch=None, group=None)
coordinates是多边形的各个端点的坐标列表,也可以写成元组方式;
多边形控件是填充形状,没有粗细参数也不能只画边线。
代码如下:
import pyglet
window = pyglet.window.Window(800,500)
batch = pyglet.graphics.Batch()
color = (255, 255, 255)
pi = 3.141592653589793
arc = []
x, y = 380, 250
for i in [*range(6),*range(18,24),*range(36,42)]:
    arc.append(pyglet.shapes.Arc(x=x, y=y, radius=50-i/2, angle=pi/2, start_angle=-pi/4, color=color, batch=batch))
coordinates = [x+10, y+8], [x, y+8], [x, y-8], [x+10, y-8], [x+16, y-14], [x+16, y+14]
polygon = pyglet.shapes.Polygon(*coordinates, color=color, batch=batch)
@window.event
def on_draw():
    window.clear()
    batch.draw()
pyglet.app.run()
二、扬声器类
改写为一个类便于调用,可以画在任意坐标处:
class Speaker:
class Speaker:
    def __init__(self, x, y, color=(255, 255, 255)):
        self.arc = []
        pi = 3.141592653589793
        for i in [*range(6),*range(18,24),*range(36,42)]:
                self.arc.append(pyglet.shapes.Arc(x=x, y=y, radius=50-i/2, angle=pi/2, start_angle=-pi/4, color=color, batch=batch))
        coordinates = [x+10, y+8], [x, y+8], [x, y-8], [x+10, y-8], [x+16, y-14], [x+16, y+14]
        self.polygon = pyglet.shapes.Polygon(*coordinates, color=color, batch=batch)
调用代码:
import pyglet
window = pyglet.window.Window(800,500)
batch = pyglet.graphics.Batch()
class Speaker:
    def __init__(self, x, y, color=(255, 255, 255)):
        self.arc = []
        pi = 3.141592653589793
        for i in [*range(6),*range(18,24),*range(36,42)]:
            self.arc.append(pyglet.shapes.Arc(x=x, y=y, radius=50-i/2, angle=pi/2, start_angle=-pi/4, color=color, batch=batch))
        coordinates = [x+10, y+8], [x, y+8], [x, y-8], [x+10, y-8], [x+16, y-14], [x+16, y+14]
        self.polygon = pyglet.shapes.Polygon(*coordinates, color=color, batch=batch)
@window.event
def on_draw():
    window.clear()
    batch.draw()
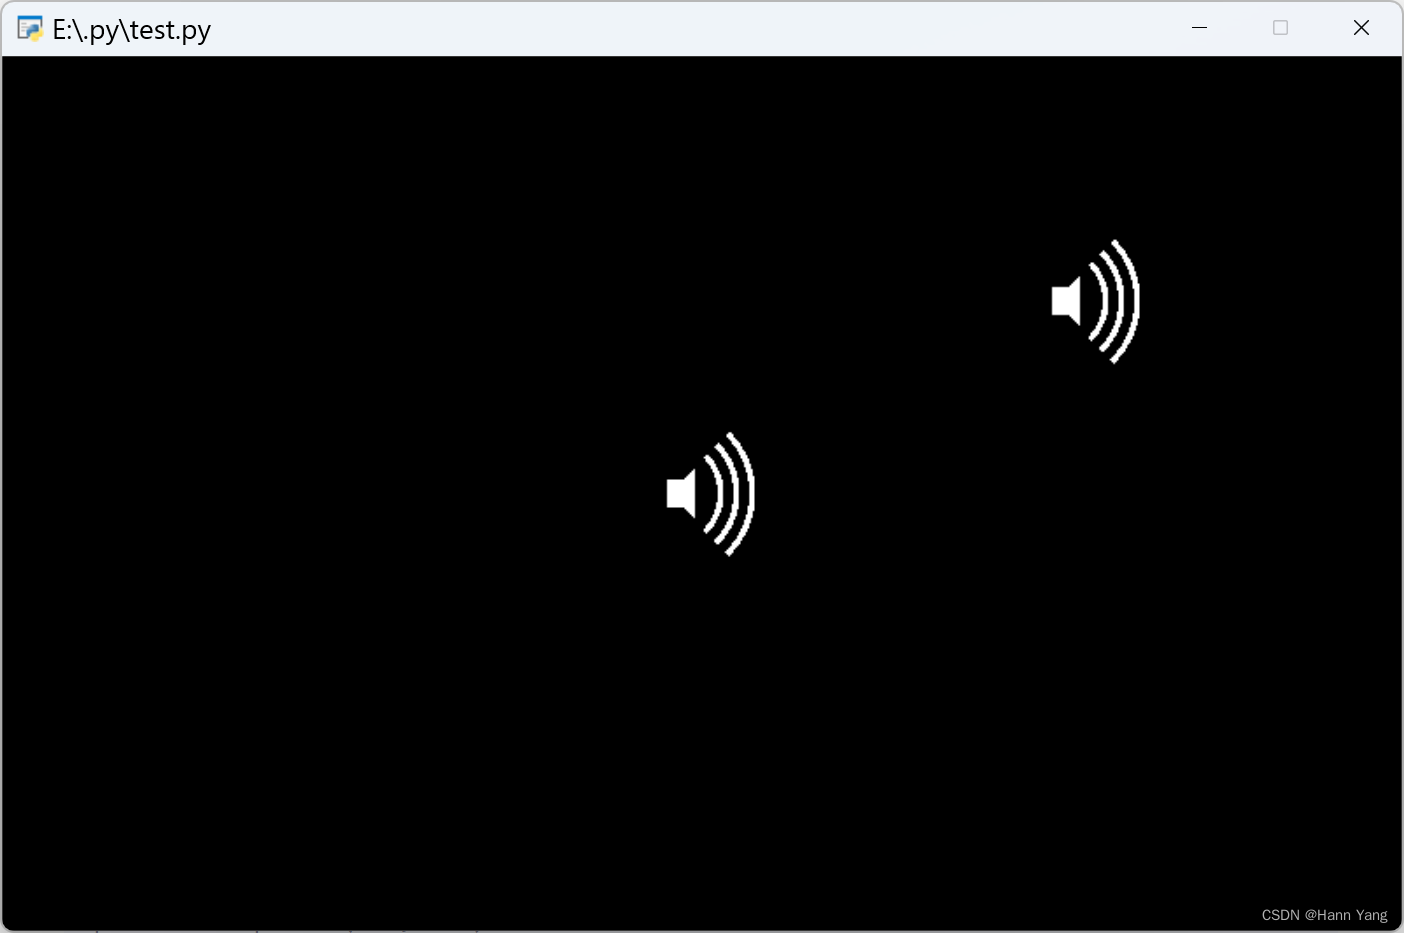
speaker1 = Speaker(380, 250)
speaker2 = Speaker(600, 360)
pyglet.app.run()
运行效果:
三、禁音状态
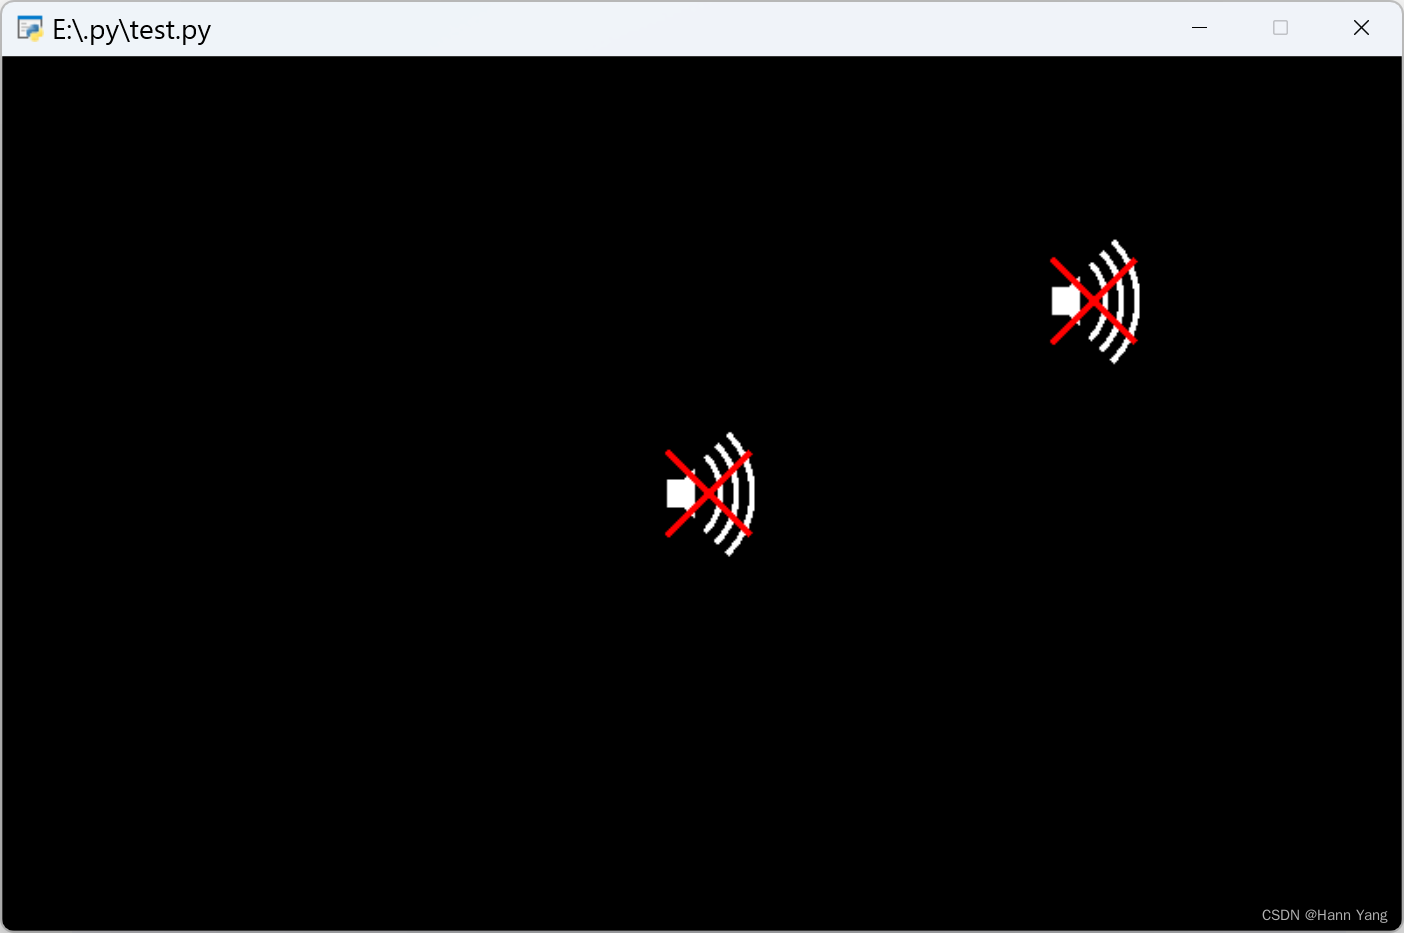
再加两条红色直线表示禁音状态,shapes.Line用法:
Line(x, y, x2, y2, width=1, color=(255, 255, 255, 255), batch=None, group=None)
x,y, x2,y2 为直线两端点的坐标;
width为直线粗细,缺省默认值为1,直线控件有粗细的。
代码如下:
import pyglet
window = pyglet.window.Window(800,500)
batch = pyglet.graphics.Batch()
class Speaker:
    def __init__(self, x, y, color=(255, 255, 255)):
        self.arc = []
        pi = 3.141592653589793
        for i in [*range(6),*range(18,24),*range(36,42)]:
            self.arc.append(pyglet.shapes.Arc(x=x, y=y, radius=50-i/2, angle=pi/2, start_angle=-pi/4, color=color, batch=batch))
        coordinates = [x+10, y+8], [x, y+8], [x, y-8], [x+10, y-8], [x+16, y-14], [x+16, y+14]
        self.polygon = pyglet.shapes.Polygon(*coordinates, color=color, batch=batch)
        self.line1 = pyglet.shapes.Line(x, y-24, x+48, y+24, width=3, color=(255, 0, 0), batch=batch)
        self.line2 = pyglet.shapes.Line(x, y+24, x+48, y-24, width=3, color=(255, 0, 0), batch=batch)
@window.event
def on_draw():
    window.clear()
    batch.draw()
speaker1 = Speaker(380, 250)
speaker2 = Speaker(600, 360)
pyglet.app.run()
运行效果:
四、设置状态
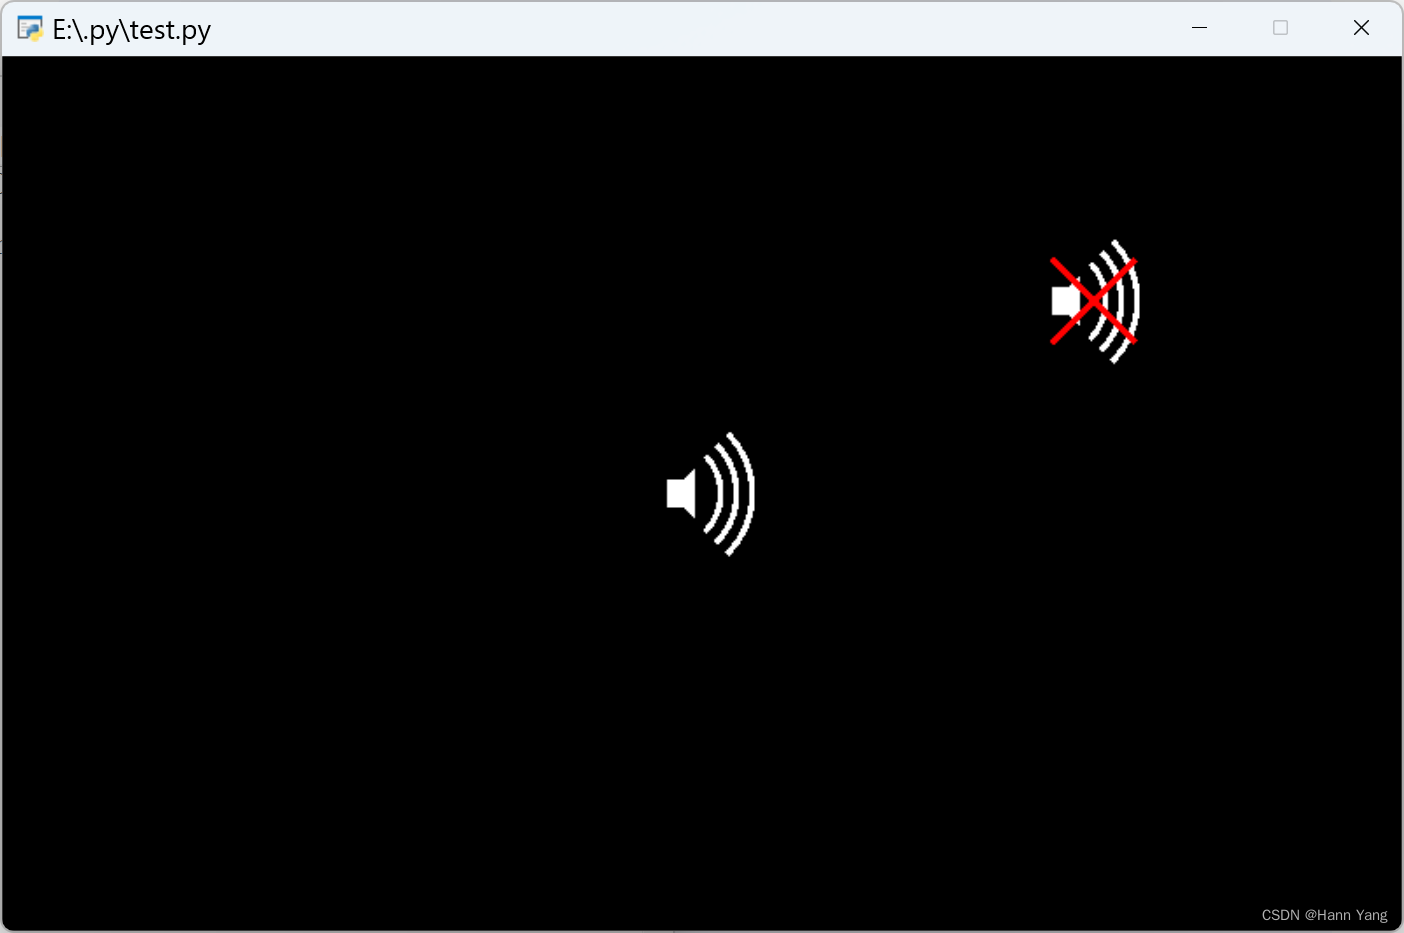
再为Speaker类增加两个属性和一个方法,用于设置状态:
self.line1.visible =Flase
self.line2.visible = Flase
def enabled(self, enabled=True):
self.line1.visible = self.line2.visible = not enabled
调用代码:
import pyglet
window = pyglet.window.Window(800,500)
batch = pyglet.graphics.Batch()
class Speaker:
    def __init__(self, x, y, color=(255, 255, 255)):
        self.arc = []
        pi = 3.141592653589793
        for i in [*range(6),*range(18,24),*range(36,42)]:
            self.arc.append(pyglet.shapes.Arc(x=x, y=y, radius=50-i/2, angle=pi/2, start_angle=-pi/4, color=color, batch=batch))
        coordinates = [x+10, y+8], [x, y+8], [x, y-8], [x+10, y-8], [x+16, y-14], [x+16, y+14]
        self.polygon = pyglet.shapes.Polygon(*coordinates, color=color, batch=batch)
        self.line1 = pyglet.shapes.Line(x, y-24, x+48, y+24, width=3, color=(255, 0, 0), batch=batch)
        self.line2 = pyglet.shapes.Line(x, y+24, x+48, y-24, width=3, color=(255, 0, 0), batch=batch)
        self.line1.visible = self.line2.visible = False
    def set_enabled(self, enabled=True):
        self.line1.visible = self.line2.visible = not enabled
@window.event
def on_draw():
    window.clear()
    batch.draw()
speaker1 = Speaker(380, 250)
speaker2 = Speaker(600, 360)
speaker2.set_enabled(False)
pyglet.app.run()
运行效果:
五、切换状态
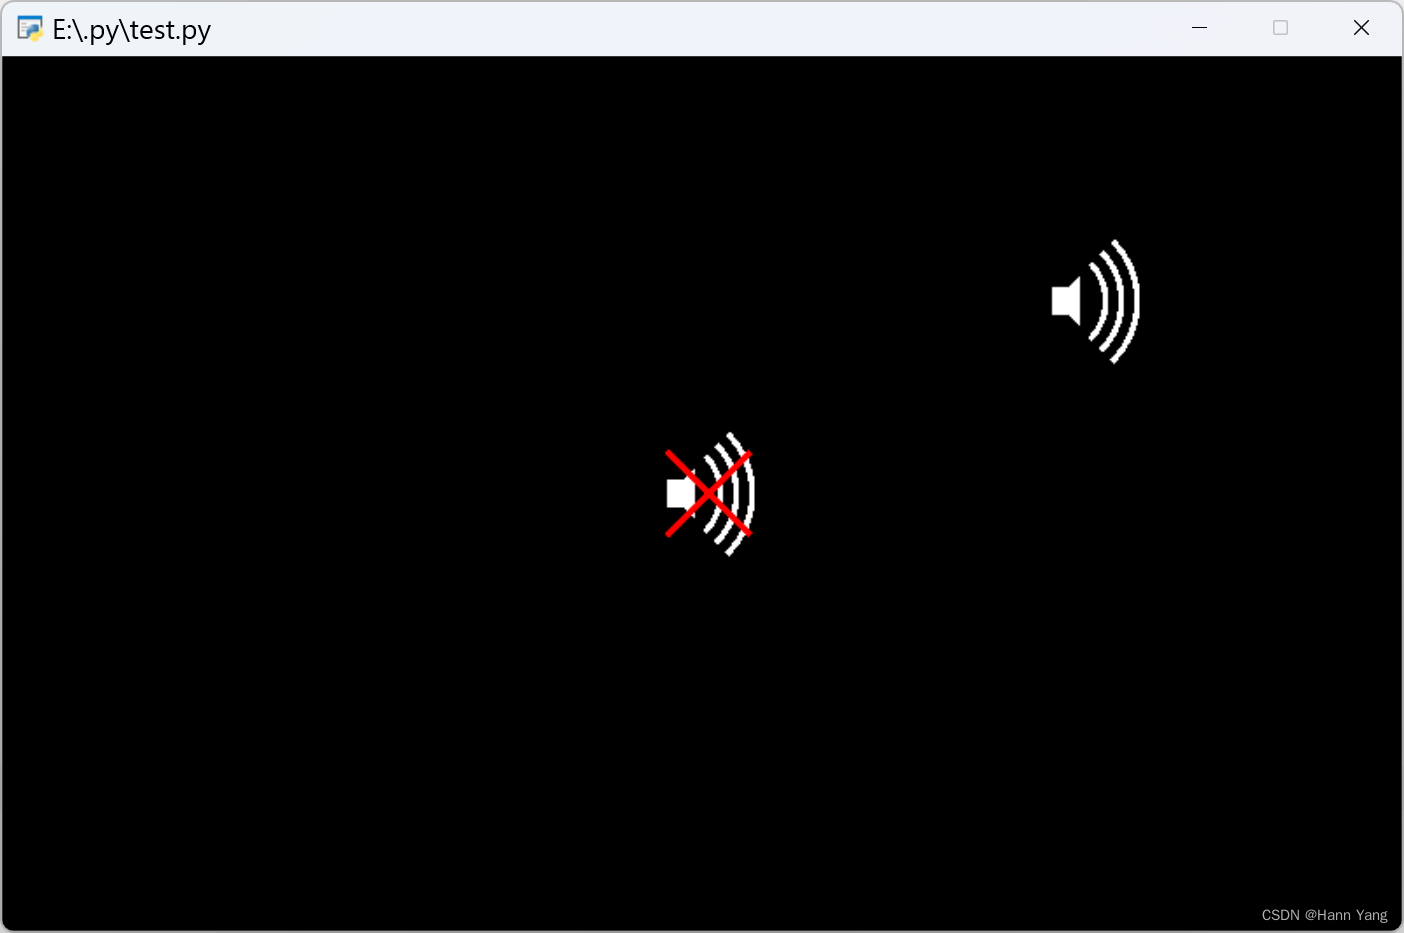
继续增加鼠标点击切换状态的功能,增加属性和方法:
属性:
self.x = x
self.y = y
self.enabled = True
方法:
    def set_enabled(self, enabled=True):
        self.enabled = enabled
        self.line1.visible = self.line2.visible = not enabled
    def on_mouse_over(self, x, y):
        return self.x <= x <= self.x+50 and self.y-35 <= y <= self.y+35
增加鼠标点击事件:
@window.event
def on_mouse_press(x, y, button, modifier):
    if speaker1.on_mouse_over(x,y):
        speaker1.enabled = not speaker1.enabled
        speaker1.set_enabled(speaker1.enabled)
    if speaker2.on_mouse_over(x,y):
        speaker2.enabled = not speaker2.enabled
        speaker2.set_enabled(speaker2.enabled)
运行效果:分别点击两个图标,就能各自切换状态
六、播放音乐
使用 media 模块调入mp3音乐,配合Speaker类播放
media = pyglet.media.load('voice1.mp3')
sound = pyglet.media.Player()
sound.queue(media)
sound.loop = True
sound.play()
鼠标事件中增加音乐播放和暂停的代码:
@window.event
def on_mouse_press(x, y, button, modifier):
    if speaker.on_mouse_over(x,y):
        speaker.enabled = not speaker.enabled
        speaker.set_enabled(speaker.enabled)
        if speaker.enabled:
            sound.play()
        else:
            sound.pause()
完整代码:
import pyglet
window = pyglet.window.Window(800,500)
batch = pyglet.graphics.Batch()
class Speaker:
    def __init__(self, x, y, color=(255, 255, 255)):
        self.arc = []
        pi = 3.141592653589793
        for i in [*range(6),*range(18,24),*range(36,42)]:
            self.arc.append(pyglet.shapes.Arc(x=x, y=y, radius=50-i/2, angle=pi/2, start_angle=-pi/4, color=color, batch=batch))
        coordinates = [x+10, y+8], [x, y+8], [x, y-8], [x+10, y-8], [x+16, y-14], [x+16, y+14]
        self.polygon = pyglet.shapes.Polygon(*coordinates, color=color, batch=batch)
        self.line1 = pyglet.shapes.Line(x, y-24, x+48, y+24, width=3, color=(255, 0, 0), batch=batch)
        self.line2 = pyglet.shapes.Line(x, y+24, x+48, y-24, width=3, color=(255, 0, 0), batch=batch)
        self.line1.visible = self.line2.visible = False
        self.x = x
        self.y = y
        self.enabled = True
    def set_enabled(self, enabled=True):
        self.enabled = enabled
        self.line1.visible = self.line2.visible = not enabled
    def on_mouse_over(self, x, y):
        return self.x <= x <= self.x+50 and self.y-35 <= y <= self.y+35
@window.event
def on_draw():
    window.clear()
    batch.draw()
@window.event
def on_mouse_press(x, y, button, modifier):
    if speaker.on_mouse_over(x,y):
        speaker.enabled = not speaker.enabled
        speaker.set_enabled(speaker.enabled)
        if speaker.enabled:
            sound.play()
        else:
            sound.pause()
speaker = Speaker(720, 450)
media = pyglet.media.load('voice1.mp3')
sound = pyglet.media.Player()
sound.queue(media)
sound.loop = True
sound.play()
pyglet.app.run()
运行代码后,就能播放音乐了,点击扬声器图标可以切换音乐的播放和暂停状态。
以上就是使用Python pyglet库编写一个可播放音乐的扬声器类流程详解的详细内容,更多关于Python pyglet的资料请关注服务器之家其它相关文章!
原文链接:https://blog.csdn.net/boysoft2002/article/details/136522563


