前言:
放鞭炮贺新春,在我国有两千多年历史。关于鞭炮的起源,有个有趣的传说。
西方山中有焉,长尺余,一足,性不畏人。犯之令人寒热,名曰年惊惮,后人遂象其形,以火药为之。——《神异经》
当初人们燃竹而爆,是为了驱吓危害人们的山魈。据说山魈最怕火光和响声,所以每到除夕,人们便“燃竹而爆”,把山魈吓跑。这样年复一年,便形成了过年放鞭炮、点红烛、敲锣打鼓欢庆新春的年俗。
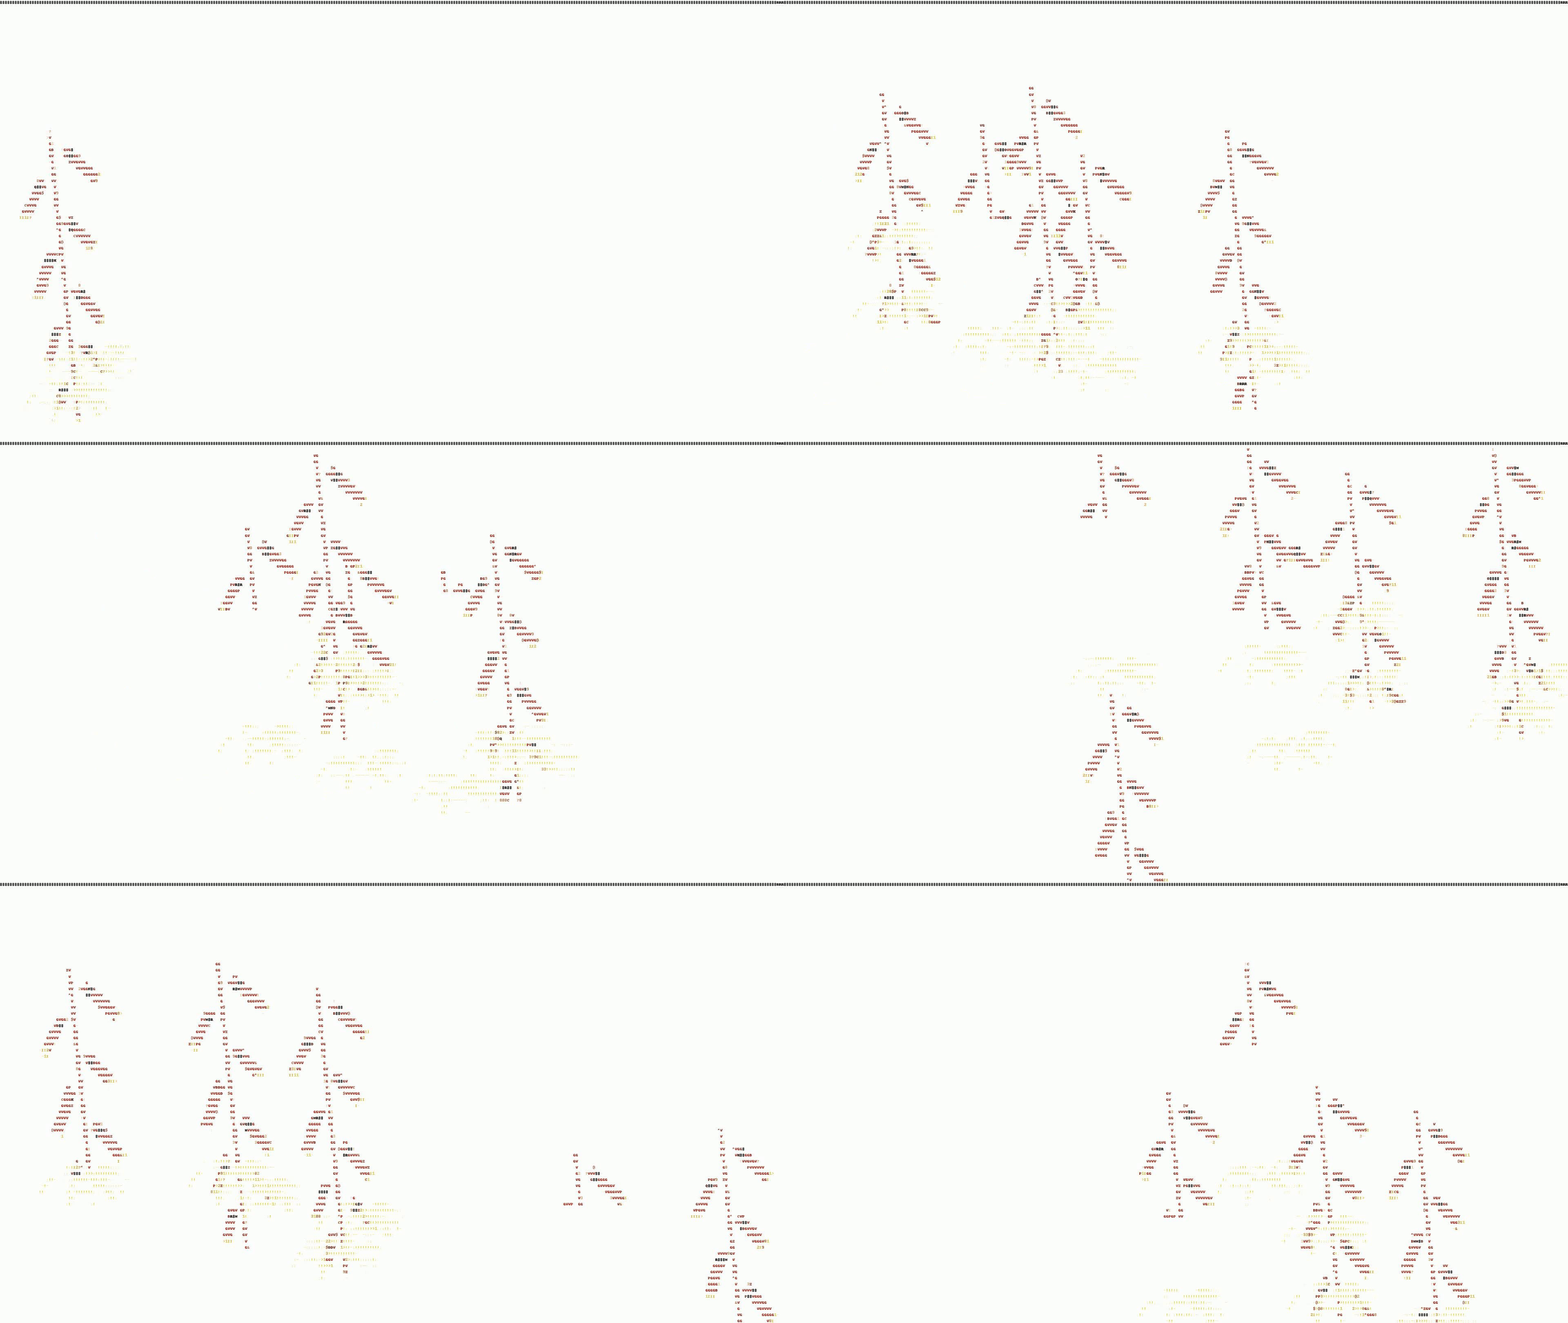
新年新气象,今天就用代码来制作一个 动态鞭炮 ,
效果如下所示:

动态鞭炮的基本原理是:将一个录制好的鞭炮视频以字符画的形式复现,基本步骤是帧采样 → 逐帧转换为字符画 → 字符画合成视频。下面开始吧!
1 视频帧采样
函数如下所示,主要功能是将视频的图像流逐帧保存到特定的缓存文件夹中(若该文件夹不存在会自动创建)。函数输入vp是openCV视频句柄,输出number是转换的图片数。
|
1
2
3
4
5
6
7
8
9
10
11
12
13
14
15
|
def video2Pic(vp): number = 0 if vp.isOpened(): r,frame = vp.read() if not os.path.exists('cachePic'): os.mkdir('cachePic') os.chdir('cachePic') else: r = False while r: number += 1 cv2.imwrite(str(number)+'.jpg',frame) r,frame = vp.read() os.chdir("..") return number |
2 将图片转为字符画
2.1 创建像素-字符索引
函数输入像素RGBA值,输出对应的字符码。其原理是将字符均匀地分布在整个灰度范围内,像素灰度值落在哪个区间就对应哪个字符码。字符码可以参考 ASCII码
ASCII 码使用指定的7 位或8 位二进制数组合来表示128 或256 种可能的字符。标准ASCII 码也叫基础ASCII码,使用7 位二进制数(剩下的1位二进制为0)来表示所有的大写和小写字母,数字0 到9、标点符号,以及在美式英语中使用的特殊控制字符。其中:0~31及127(共33个)是控制字符或通信专用字符(其余为可显示字符),如控制符:LF(换行)、CR(回车)、FF(换页)、DEL(删除)、BS(退格)、BEL(响铃)等;通信专用字符:SOH(文头)、EOT(文尾)、ACK(确认)等;ASCII值为8、9、10 和13 分别转换为退格、制表、换行和回车字符。它们并没有特定的图形显示,但会依不同的应用程序,而对文本显示有不同的影响。
RGBA是代表Red(红色)、Green(绿色)、Blue(蓝色)和Alpha的色彩空间,Alpha通道一般用作不透明度参数。如果一个像素的alpha通道数值为0%,那它就是完全透明的,而数值为100%则意味着一个完全不透明的像素(传统的数字图像)。gray=0.2126 * r + 0.7152 * g + 0.0722 * b是RGB转为灰度值的经验公式,人眼对绿色更敏感。
|
1
2
3
4
5
6
7
8
|
def color2Char(r,g,b,alpha = 256): imgChar= list("#RMNHQODBWGPZ*@$C&98?32I1>!:-;. ") if alpha: gray = int(0.2126 * r + 0.7152 * g + 0.0722 * b) unit = 256 / len(imgChar) return imgChar[int(gray / unit)] else: return '' |
2.2 将图片逐像素转换为字符
核心代码如下,遍历图片的每个像素
|
1
2
3
4
5
6
7
8
9
|
img = Image.open(imagePath).convert('RGB').resize((imgWidth, imgHeight),Image.NEAREST) for i in range(imgHeight): for j in range(imgWidth): pixel = img.getpixel((j, i)) color.append((pixel[0],pixel[1],pixel[2])) txt = txt + color2Char(pixel[0], pixel[1], pixel[2], pixel[3]) if len(pixel) == 4 else \ txt + color2Char(pixel[0], pixel[1], pixel[2]) txt += '\n' color.append((255,255,255)) |
3 将字符图像合成视频
输入参数vp是openCV视频句柄,number是帧数,savePath是视频保存路径,函数中 MP42 是可以生成较小并且较小的视频文件的编码方式,其他类似的还有isom、mp41、avc1、qt等,表示“最好”基于哪种格式来解析当前的文件。
|
1
2
3
4
5
6
7
8
|
def img2Video(vp, number, savePath): videoFourcc = VideoWriter_fourcc(*"MP42") # 设置视频编码器 asciiImgPathList = ['cacheChar' + r'/{}.jpg'.format(i) for i in range(1, number + 1)] asciiImgTemp = Image.open(asciiImgPathList[1]).size videoWritter= VideoWriter(savePath, videoFourcc, vp.get(cv2.CAP_PROP_FPS), asciiImgTemp) for imagePath in asciiImgPathList: videoWritter.write(cv2.imread(imagePath)) videoWritter.release() |
4 完整代码
|
1
2
3
4
5
6
7
8
9
10
11
12
13
14
15
16
17
18
19
20
21
22
23
24
25
26
27
28
29
30
31
32
33
34
35
36
37
38
39
40
41
42
43
44
45
46
47
48
49
50
51
52
53
54
55
56
57
58
59
60
61
62
63
64
65
66
67
68
69
70
71
72
73
74
75
76
77
78
79
80
81
82
83
84
85
86
87
88
89
90
91
92
93
94
95
96
97
98
99
100
101
102
103
104
105
106
107
108
109
110
111
112
113
114
115
116
117
|
import cv2 from PIL import Image,ImageFont,ImageDrawimport osfrom cv2 import VideoWriter, VideoWriter_fourcc'''* @breif: 将像素颜色转换为ASCII字符* @param[in]: 像素RGBA值* @retval: 字符'''def color2Char(r,g,b,alpha = 256): imgChar = list("#RMNHQODBWGPZ*@$C&98?32I1>!:-;. ") if alpha: gray = int(0.2126 * r + 0.7152 * g + 0.0722 * b) unit = 256 / len(imgChar) return imgChar[int(gray / unit)] else: return '' '''* @breif: 将视频逐帧转换为图片* @param[in]: vp -> openCV视频句柄* @retval: number -> 转换的图片数'''def video2Pic(vp): number = 0 if vp.isOpened(): r,frame = vp.read() if not os.path.exists('cachePic'): os.mkdir('cachePic') os.chdir('cachePic') else: r = False while r: number += 1 cv2.imwrite(str(number)+'.jpg',frame) r,frame = vp.read() os.chdir("..") return number '''* @breif: 将图片逐像素转换为ASCII字符* @param[in]: imagePath -> 图片路径* @param[in]: index -> 图片索引* @retval: None'''def img2Char(imagePath, index): # 初始化 txt, color, font = '', [], ImageFont.load_default().font imgWidth, imgHeight = Image.open(imagePath).size asciiImg = Image.new("RGB",(imgWidth, imgHeight), (255,255,255)) drawPtr = ImageDraw.Draw(asciiImg) imgWidth, imgHeight = int(imgWidth / 6), int(imgHeight / 15) # 对图像帧逐像素转化为ASCII字符并记录RGB值 img = Image.open(imagePath).convert('RGB').resize((imgWidth, imgHeight),Image.NEAREST) for i in range(imgHeight): for j in range(imgWidth): pixel = img.getpixel((j, i)) color.append((pixel[0],pixel[1],pixel[2])) txt = txt + color2Char(pixel[0], pixel[1], pixel[2], pixel[3]) if len(pixel) == 4 else \ txt + color2Char(pixel[0], pixel[1], pixel[2]) txt += '\n' color.append((255,255,255)) # 绘制ASCII字符画并保存 x, y = 0,0 fontW, fontH = font.getsize(txt[1]) fontH *= 1.37 for i in range(len(txt)): if(txt[i]=='\n'): x += fontH y = -fontW drawPtr.text((y,x), txt[i], fill=color[i]) y += fontW os.chdir('cacheChar') asciiImg.save(str(index)+'.jpg') os.chdir("..")'''* @breif: 将视频转换为ASCII图像集* @param[in]: number -> 帧数* @retval: None'''def video2Char(number): if not os.path.exists('cacheChar'): os.mkdir('cacheChar') img_path_list = ['cachePic' + r'/{}.jpg'.format(i) for i in range(1, number + 1)] task = 0 for imagePath in img_path_list: task += 1 img2Char(imagePath, task)'''* @breif: 将图像合成视频* @param[in]: vp -> openCV视频句柄* @param[in]: number -> 帧数* @param[in]: savePath -> 视频保存路径* @retval: None'''def img2Video(vp, number, savePath): videoFourcc = VideoWriter_fourcc(*"MP42") # 设置视频编码器 asciiImgPathList = ['cacheChar' + r'/{}.jpg'.format(i) for i in range(1, number + 1)] asciiImgTemp = Image.open(asciiImgPathList[1]).size videoWritter= VideoWriter(savePath, videoFourcc, vp.get(cv2.CAP_PROP_FPS), asciiImgTemp) for imagePath in asciiImgPathList: videoWritter.write(cv2.imread(imagePath)) videoWritter.release() if __name__ == '__main__': videoPath = 'test.mp4' savePath = 'new.avi' vp = cv2.VideoCapture(videoPath) number = video2Pic(vp) video2Char(number) img2Video(vp, number, savePath) vp.release() |
到此这篇关于 Python 代码制作动态鞭炮的文章就介绍到这了,更多相关 Python 制作动态鞭炮内容请搜索服务器之家以前的文章或继续浏览下面的相关文章希望大家以后多多支持服务器之家!
5 参考
[1] B站《大二AE结课作业 《过 年》(已摆烂)》
[2] https://hongcyu.cn/posts/opencv-pictovideo.html
原文链接:https://blog.csdn.net/FRIGIDWINTER/article/details/122601693


